
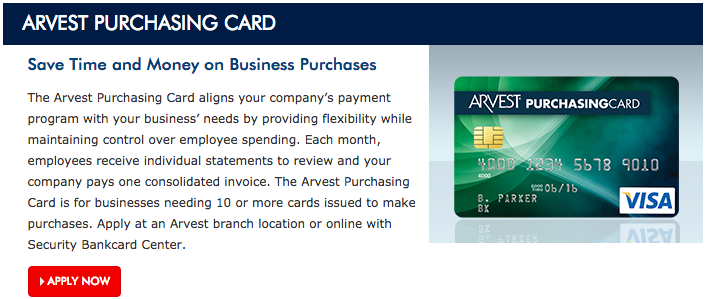
If you are looking for a business credit card account with multiple employee cards attached to it, you may want to consider the Arvest Purchasing Visa Credit Card. This credit option is identical to the Arvest Corporate Visa, except for, with this option, you can have up to 20 employee credit cards with each cardholder receiving a unique card statement. The “Premier” and “Elite” designations are to signify the two different assigned APRs (APR is subject to change). Based on your credit worthiness, account holders are assigned either a 10.49% (Elite) or 14.49% (Premier) APR. Regardless of your assigned APR, you will enjoy a 0% intro APR for the first 6 months of your account being opened. You may also elect to enroll in the Arvest Rewards Program at no extra cost and receive 1 Arvest Flex Rewards point for every $1 spent. These rewards may be redeemed for gifts, travel rewards, and cash rewards. Also worthy of mention is the fact that this card carries no annual fee. We have provided instructions below on how to apply for this credit card online. Scroll down if you would like to apply today.
Before you submit any of your personal and financial information, we recommend that you familiarize yourself with Arvest Bank’s privacy policy.
Requirements
You must fulfill the following requirements to be eligible for this credit card:
- Be at least 18 years of age
- Have a valid SSN
- Have a business Tax ID number
- Have a business banking account
How to Apply
Step 1 – To apply for this card, go to the page pictured below by following this link. Once there, click the Apply Now link to continue.
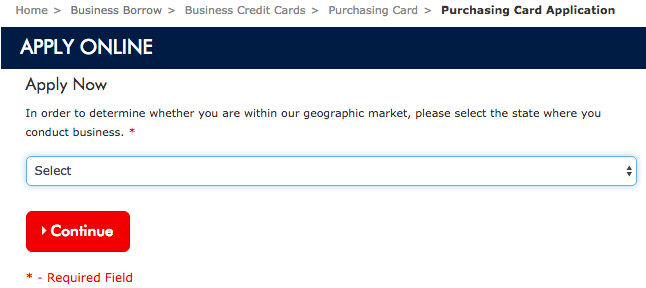
Step 2 – Before you can start filling out your application, you must select your state from the drop down menu and click Continue. Certain states will disqualify you from the application.
Step 3 – Once on the application page, you may begin by providing the following information in the Business Information section:
- Company name
- Date established
- Type of business
- Company’s website address
- Product or service provided by this company

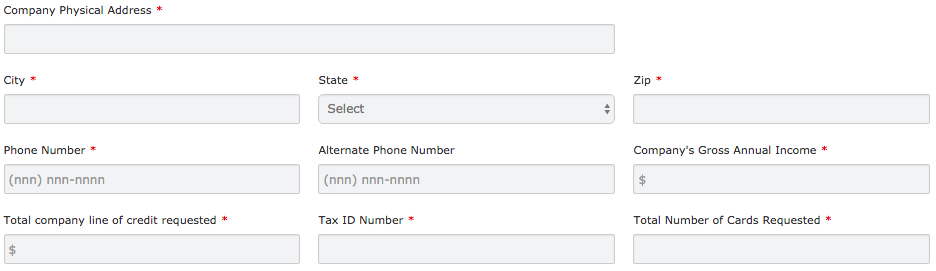
Step 4 – To complete the Business Information section, you will need to enter all of the information listed below.
- Complete physical address of company (including city, state and ZIP code)
- Phone number
- Alternate phone number
- Company’s gross annual income
- Total amount of the line of credit requested
- Tax ID number
- Total number of cards required
Step 5 – At this juncture you must provide the Bank Name, the Account #, and the Bank Officer of your business banking account. Beneath Account Options select Central or Individual Billing to choose whether you would like to receive one global statement for this account or individual statements issued to each card holder.


Step 6 – Here, you must select either Yes or No to indicate whether or not you wish to limit the amount of cash advances that each card can make (based on a percentage of their credit limit). If you selected Yes, you will then need to indicate which percentage of the individual’s credit limit you wish to make available for cash advances. When you have completed those fields, use the drop down menu to select which date of the month you would like the statements to be issued.

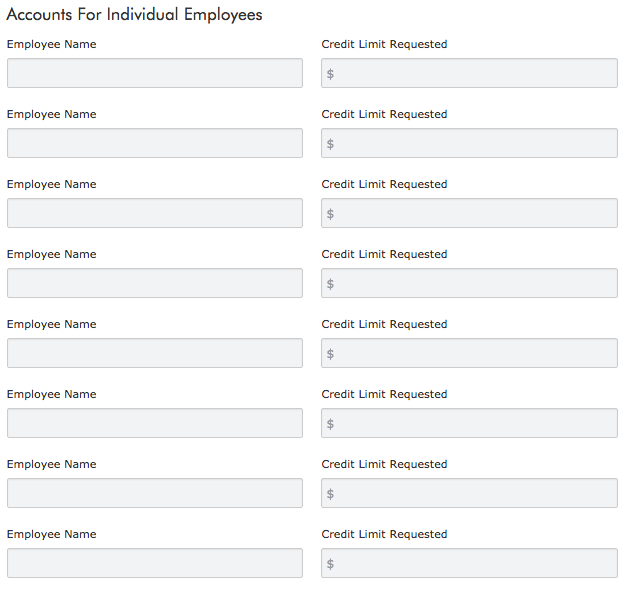
Step 7 – For this card you may add up to 20 individual accounts for your employees. Enter the Employee Name and Credit Limit Requested for each cardholder.
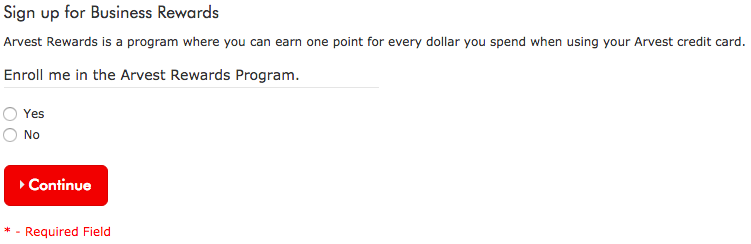
Step 8 – Now, select either Yes or No to indicate whether you would like to be enrolled in the Arvest Rewards Program and click Continue.
Step 9 – In this step, you must read and agree to the terms and conditions for this credit card before you continue. If you agree to the terms, type your name in the Authorized Signature field and provide your Title, Social Security Number, and today’s Date.

Step 10 – Next, you will need to enter the name (Signature), the % Ownership, the Social Security Number, and today’s Date for at least one guarantor.

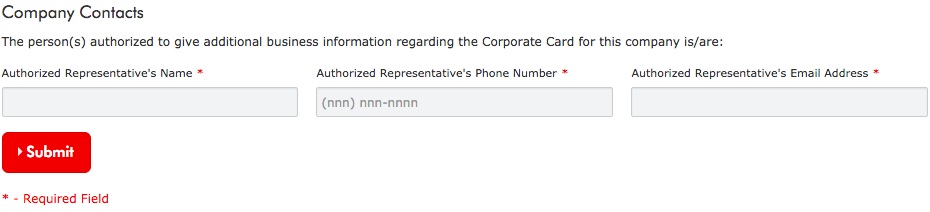
Step 11 – The final step of the application process is to provide the Authorized Representative’s Name, Authorized Representative’s Phone Number, and Authorized Representative’s Email Address representing the person authorized to give any additional necessary business information. When you are ready, click Submit to complete the application process.
That brings us to the end of our tutorial. We wish you the best of luck with your submitted application and hope that our tutorial has been of service to you today. Thank you for visiting Card Reviews.