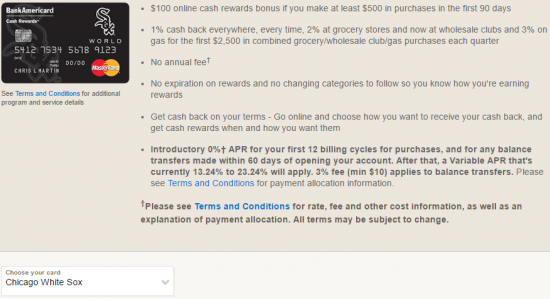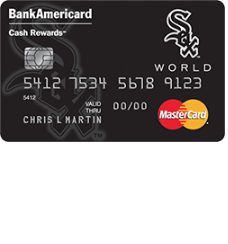
Often referred to as “the Best Sports City”, Chicago is home to one of the oldest baseball teams (after the “classic eight”); the Chicago White Sox. If you’re a fan of this south side Chicago team, you might want to look into the Chicago White Sox Cash Rewards MasterCard. Not only will you be supporting the team you love, but you’ll be earning cash back at the same time. One dollar spent on everyday purchases will earn you 1% cash back. For grocery store purchases you’ll earn 2% per $1 spent and 3% for gas station purchases. These increased cash back earnings are applied only to the first $2,500 you spend per quarter. Afterwards, you will be earning the regular 1% cash back. Bank of America also award users with $100 cash rewards bonus when they’ve made $500 in purchases within the first 90 days. There’s no annual fee, no expiration on rewards and you can claim your cash back anytime you want. The APR for this card varies from 13.24% to 23.24%, depending on your personal credit score. If you have excellent creditworthiness, you could be seeing an APR of 13.24%, which is outstanding (APR is subject to change). As an added bonus, you will enjoy a 0% introductory APR for the first 12 months. Yes, the Chicago White Sox Cash Rewards MasterCard boasts many rewards and benefits. If you’re interested in applying for this card, follow our step by step guide written out below.
Take a moment to read through Bank of America’s privacy policy to learn how they might share your personal information.
Requirements
You must meet the following criteria to be eligible for this credit card:
- Applicants must be at least 18 years of age
- Applicants must have a valid Social Security number
- Applicants must have a valid U.S. address
How to Apply
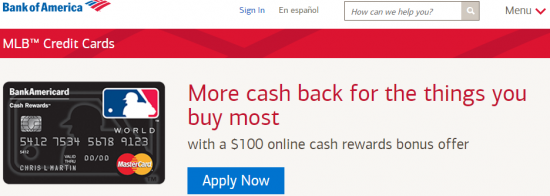
Step 1 – To start the application process, go to the Bank of America MLB credit card page. Locate the Apply Now button next to the image of the credit card and click on it to continue.
Step 2 – This is where you will choose the design of your credit card. Click the drop down menu labeled Choose your card and find the Chicago White Sox.
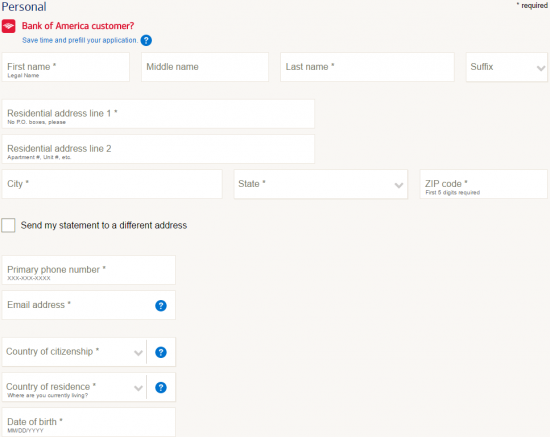
Step 3 – Next, we’ll begin filling in the application form. Enter the following information into the appropriate fields:
- Full name
- Physical address
- Primary phone number
- Email address
- Country of citizenship
- Country of residence
- Date of birth
Step 4 – At this step, you are required to provide your Employment status, Total annual income, Source of income and Monthly housing payment.
Step 5 – At this juncture you are presented with the option to make a balance transfer. In the Additional options section, tick the box next to Transfer a balance to my new credit card and enter the necessary information to complete the balance transfer.
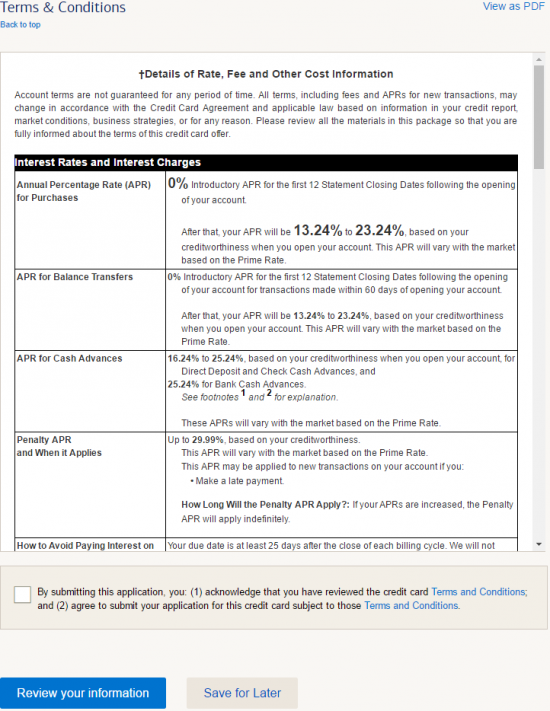
Step 6 – Next, read the terms and conditions, then tick the box below them to acknowledge that you have reviewed them. Click the Review your information button to get to the final step. You will be asked to look over the information you’ve entered to ensure it is correct before submitting it for approval. We hope this tutorial has proven useful to you. Best of luck with your application!
